Table of contents
Omni Calculator Documentation
Report Highlights
Welcome to this guide on how to use Omni Calculators, which will help you get the most out of using our calculators and website.
Let’s first offer you a guided tour of an Omni Calculator webpage so you can familiarize yourself with its elements.
Below is a diagram showing the most common features you will see in an Omni Calculator.

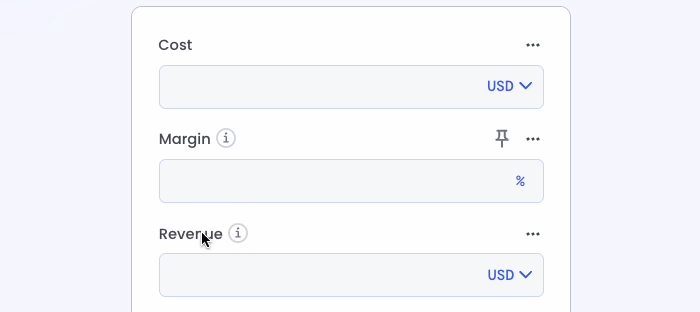
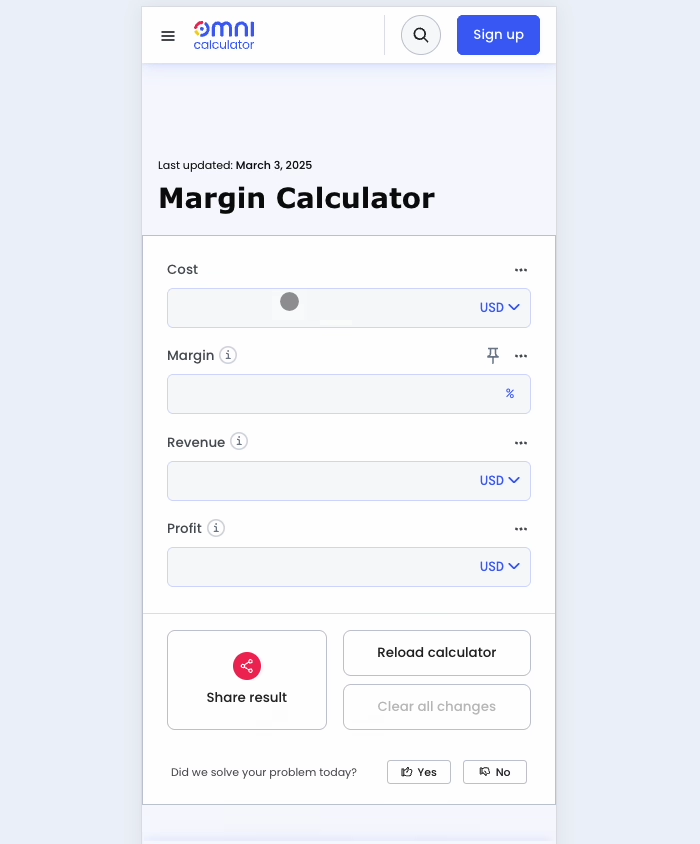
An Omni Calculator consists of a set of variables that, in general, can serve as both inputs and outputs, enabling multi-way calculations. They have a description name and sometimes extra help text, so you know what value to enter. Use the three-dot menu to enable saving of variable values between visits. Some variables have units, and you can use the unit selector to change them. For monetary units, it’s possible to convert between different currencies.
Some calculators are split into groups of variables that you can close and open depending on your interest.
All Omni Calculators have Share result, Reload, and Clear all changes buttons, as well as positive and negative feedback buttons indicating whether we solved your calculation problem.
Other features
This guide also covers features you may find on other calculators, such as:
- Hiding and showing groups of variables;
- Radio buttons, dropdowns, and checkboxes;
- Date and time variables; and
- Error messages.
Feature testing
You may also encounter other features we are testing from time to time. If you do, please share your feedback on them so we know what’s working and what’s not.
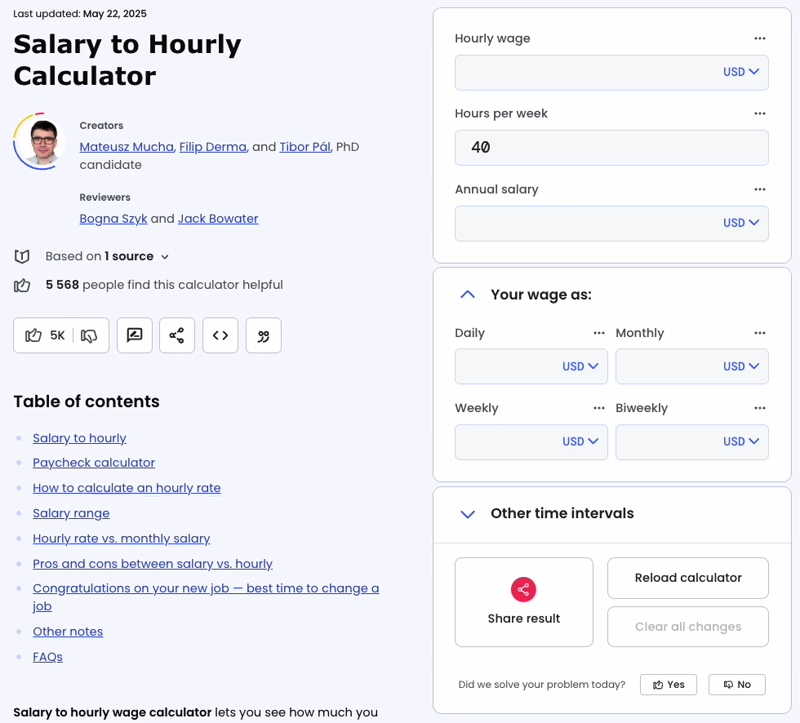
Calculator article
Every one of our calculators comes with an accompanying article that explains what the calculator does, the equations that power it, and worked examples to help your understanding.
Below is a diagram describing the main sections and features of an article, so you can learn more and see what you can do.

You can check how up-to-date a calculator is, who created it, and what sources were used. If you liked the calculator, give it a thumbs up and help other people discover it. Got some detailed feedback? Then hit the feedback button and tell us all about it.
There are also buttons to share, embed, and cite a calculator. Finally, the table of contents helps you get to the section of the article you are interested in. Or keep scrolling down to read all of the article.
That’s the overview finished. Let’s dive into the details next and learn about inputs and calculated values.
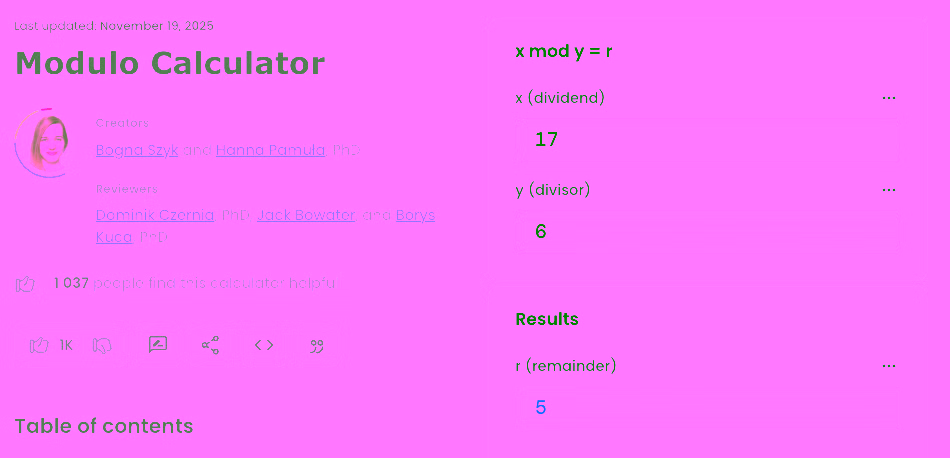
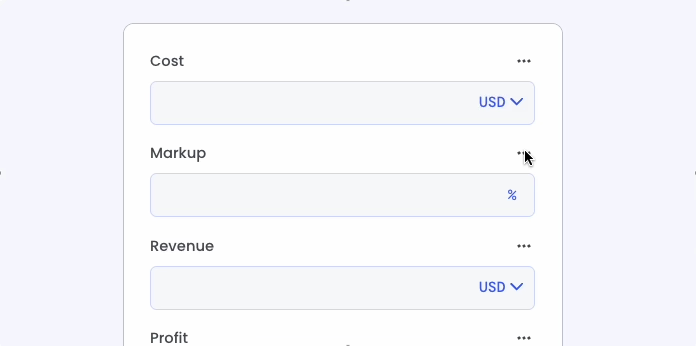
In general, each variable in an Omni Calculator serves as both an input and an output field. Sometimes, though, a variable is output-only, indicated by a darker background (3rd variable in the example below).
When you enter a value into a variable, it appears in black (first 2 variables in the example). When a variable is calculated, it appears in blue (3rd variable). This color difference is our way of distinguishing between inputs and outputs in a calculation.
Why do we do this? Well, for the vast majority of our calculators, you can choose what you’d like to input and output. All you need to do is enter the value(s) you know, and the value(s) you don’t know will be calculated as long as you provide enough information. This feature makes Omni Calculator tools very flexible.
In other calculators, the result(s) may appear in text form as well as tables and charts to help visualize the data.
Groups organize variables to improve the user experience, such as grouping similar inputs, optional parameters, or results.
You can fold away some groups once you are done with them (e.g., you’ve entered all of the inputs and you want to focus on the results organized in another group). If available, press the upward-pointing arrow to the left of the group’s name to close the group.
In other cases, a group may be closed by default as it contains extra variables or information. Press the downward-pointing arrow to the left of the group’s name to open a group.
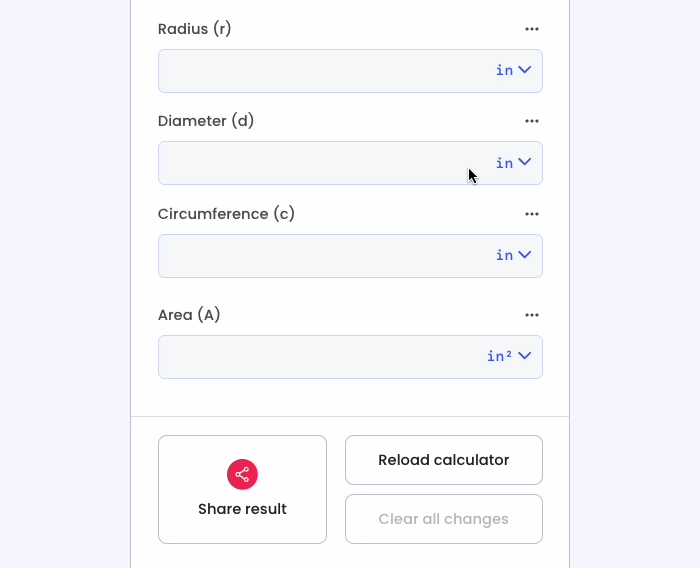
Unit selectors let you choose your preferred unit or convert between units. Examples of units selectors include length, time, mass, area, speed, etc.
We try our best to set the default unit to the most common option, but in case you’d like a different one, here’s how it works:
- Before entering a value, press on the unit dropdown menu at the end of a variable (colored blue) to show a list of the available units for that variable.
- Select your desired unit.
- You can now enter its value.
To use a variable unit switcher as a unit converter, switch to the unit you want to convert from, enter the value, and then switch to another unit, and the value will update accordingly.
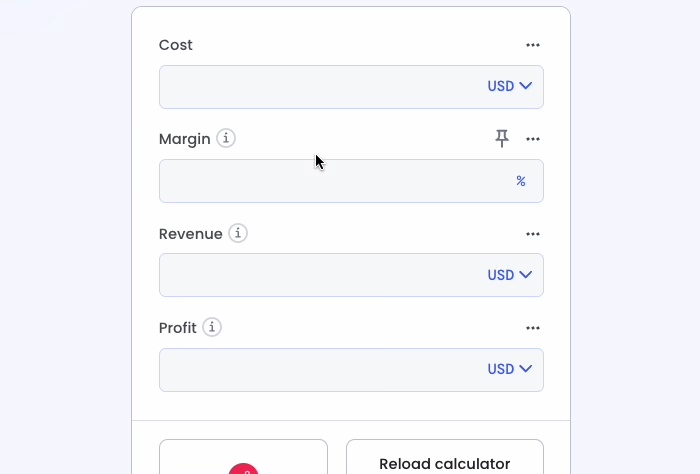
Currency selector
For calculators that involve monetary values, you’ll see that by default the unit of the variable is set to your local currency. If it’s incorrect or you’d like to know the value in another currency, you can change it.
Press on the currency dropdown menu at the end of the variable and select a different currency from the list. The previous value will now be converted to the newly selected currency.
Currency exchange rate data is updated daily via .
Some input field labels have an info icon at the end. Press it to reveal helpful information about the variable to help you understand what value you need to enter.
Radio buttons, dropdown selectors, or checkboxes allow you to set pre-define values of a variable or configure the calculator to your needs.
Radio buttons
Radio buttons let you pick exactly one option from a short list (up to 5 different options). Press on an empty circle to select that option. If you change your mind, just press a different circle to select another option.

Dropdown selectors
When there are many options to choose from, you’ll see a dropdown selector. When no option is selected, the word “Select” appears, instructing you to select an option. To select an option, open the dropdown and choose the one you need.
On a desktop computer, you can type in the first few letters of an option to help speed up selecting an option.
Checkboxes
Checkboxes are binary options that are either on (box ticked) or off (box unticked). For example, whether to include the end date when calculating the number of days between two dates.
If you find yourself constantly entering the same value into one of our calculators, you can save yourself some time by saving it. Here's how to do it:
- Press the three dots icon at the right-hand end of the variable you wish to save.
- Press the
Save input valueslider. - The variable will gain a pin icon to indicate that the value is being saved.
So when you revisit the calculator later, any save inputs will already be populated.
It’s important to note that these saved values are stored locally in your browser and not shared with Omni Calculator.
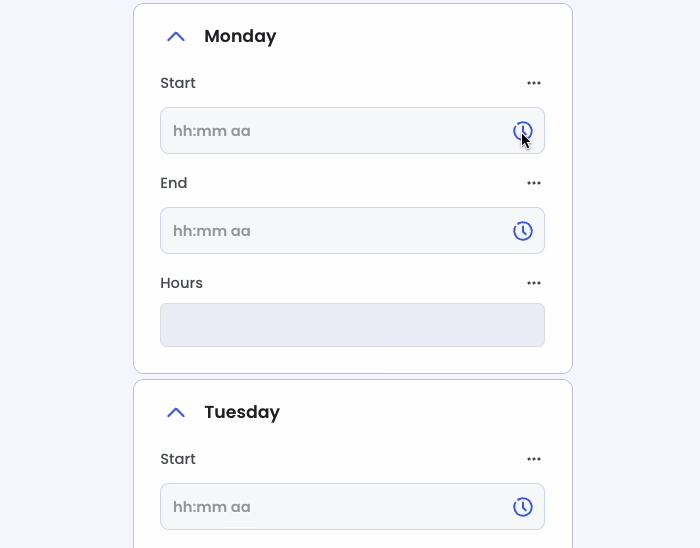
For calculators that involve dates and times, there are two ways to enter them: either by typing in values or by selecting from a calendar or clock.
Entering dates
To enter a date via a calendar, first press the calendar icon at the end of the variable. By default, the calendar opens in the current month. Use the right and left arrows to move forward and backward in time if the date you want is nearby.
If you want to enter a date in another year, press the month and year dropdown at the top left-hand corner of the calendar, then select the year, then the month.
Once you have the correct month, press on a day to select it (indicated by a white number in a filled blue circle). Then press the OK button to set the date. The CLEAR button will clear the date, allowing you to start again. You may also clear a date by pressing the cross symbol.
To enter a date with a keyboard on a desktop computer, click on the variable and start entering numbers that correspond to the date. You’ll get a hint whether to start with the day or the month first. For days and months less than 10, enter a zero first. Enter the year in full.
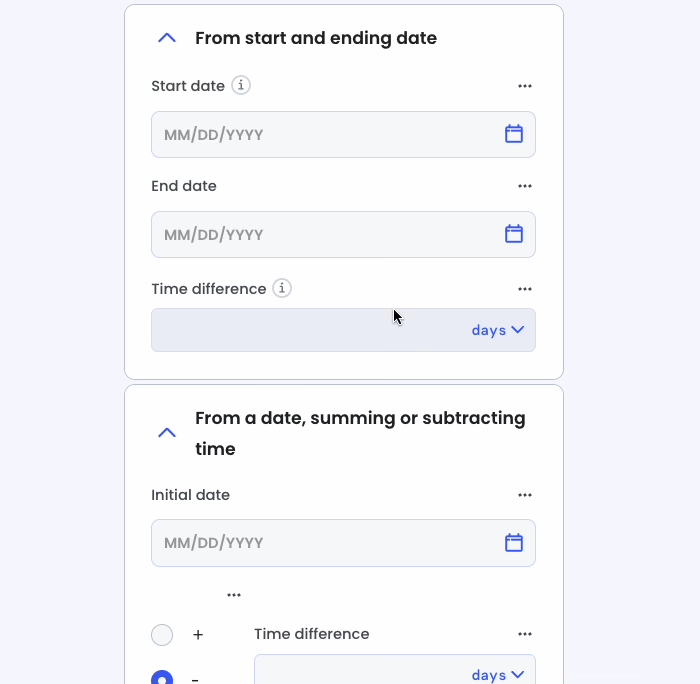
Entering times
To enter a time using the clock interface, press the clock icon at the end of the variable. Then follow these steps:
- Press on the hour of the time you want. If your language uses the 24-hour clock, select an hour greater than 12 for times after noon.
- If your language doesn’t use the 24-hour clock, select either
AMorPM. - Press the minute you require or drag the minute hand.
- Finally, press the
OKbutton to set the time.
On mobile, for calculators that only accept values in variables, we have a special Omni Calculator keypad for entering numbers and a limited set of symbols.
Looking at the first row of buttons, the arrow buttons move the cursor left and right. The middle button closes the keyboard, allowing you a better view of the calculator. To reopen the keypad, tap a variable.
Moving on to the CE button, this clears the contents of the currently selected text. The final button is the backspace button, which deletes the character to the left of the cursor.
Some variables only allow you to enter a certain range of values. For example, the radius of a circle must be greater than 0; otherwise, there is no circle. If you try to enter a negative value, the variable will turn red, and a helpful message is displayed saying what you must do to clear the error.
It is important to resolve such errors, as the calculator will not proceed correctly until they are resolved.
If you can’t see a variable that has an error, a message will appear telling you the number of variables with an error and which direction you should scroll to see them.
